En muy pocos años la Inteligencia Artificial logró hacerse un lugar en la vida cotidiana de un
montón de personas.
No es novedad que interactuemos con IAs todo el tiempo, eso ya sucedía desde hace mucho.
Por ejemplo, cada vez que consumimos contenido en redes sociales, o publicidades en internet, o
compramos cosas online, estamos interactuando con IAs que deciden qué mostrarnos, cuándo y cómo.
IAs de distintos tipos nos ayudan (e influyen) en mucho de lo que hacemos a diario.
Pero la cosa era bastante más "invisible", si se quiere.
En este último tiempo, en cambio, la IA se volvió mucho más accesible a todos.
Hoy usar una IA para resolver un problema ya no implica un equipo de Data Scientists programando,
sino simplemente entrar a un chat y conversar "en humano".
Charlar.
Pedir algo y recibir respuestas, como si tuviéramos un asistente personal super veloz y con
conocimientos en casi todo.
Trivial o importante. Dibujar un meme o pedir opinión médica. Crear una canción o resumir un texto
complejo.
La IA está dispuesta a dar una mano, rápido, y por lo general con resultados re interesantes.
Y la educación claramente no es la excepción.
Tanto profes como estudiantes tenemos ahora estos asistentes que pueden ayudarnos muchísimo en el
proceso de enseñar y aprender.
Pero cuánto entendemos de estas herramientas? Cómo hacemos para aprovecharlas mejor y no caer en
problemas o limitaciones sin darnos cuenta?
La idea de este post es explorar muy brevemente cómo funcionan, y qué consecuencias buenas y malas
tiene eso.
Sobre todo para que podamos sacarles mejor el jugo y que no nos "muerdan", y enfocándonos en
educación.
Copian? Buscan? Crean?
La mayoría de la gente con quien he charlado de este tema, asume que al hacerle una pregunta a una
IA moderna, la IA o "copia" la respuesta de algún texto que tiene guardado en alguna especie de
base de datos, o "busca" en el momento la respuesta en internet y nos devuelve un resumen de lo que
encontró.
Parece algo bastante obvio.
De dónde puede saber una IA que en Italia se come mucha pizza, si no es buscándolo en internet o
una base de datos?
De qué otra manera podría obtener ese dato?
Y sin embargo, ambas suposiciones son falsas en la gran mayoría de los casos (salvo cuando
explícitamente les pedimos que hagan una búsqueda en internet y nos devuelven links).
La gran mayoría de las veces en vez de buscar o copiar, estas IAs "crean" el texto que nos dan
como respuesta. Y lo crean en el momento, "al vuelo", sin salir a buscar la información a ninguna
parte!
Puede parecer raro, pero es así.
Intentemos entonces entender un poco cómo funciona esto, y qué implica.
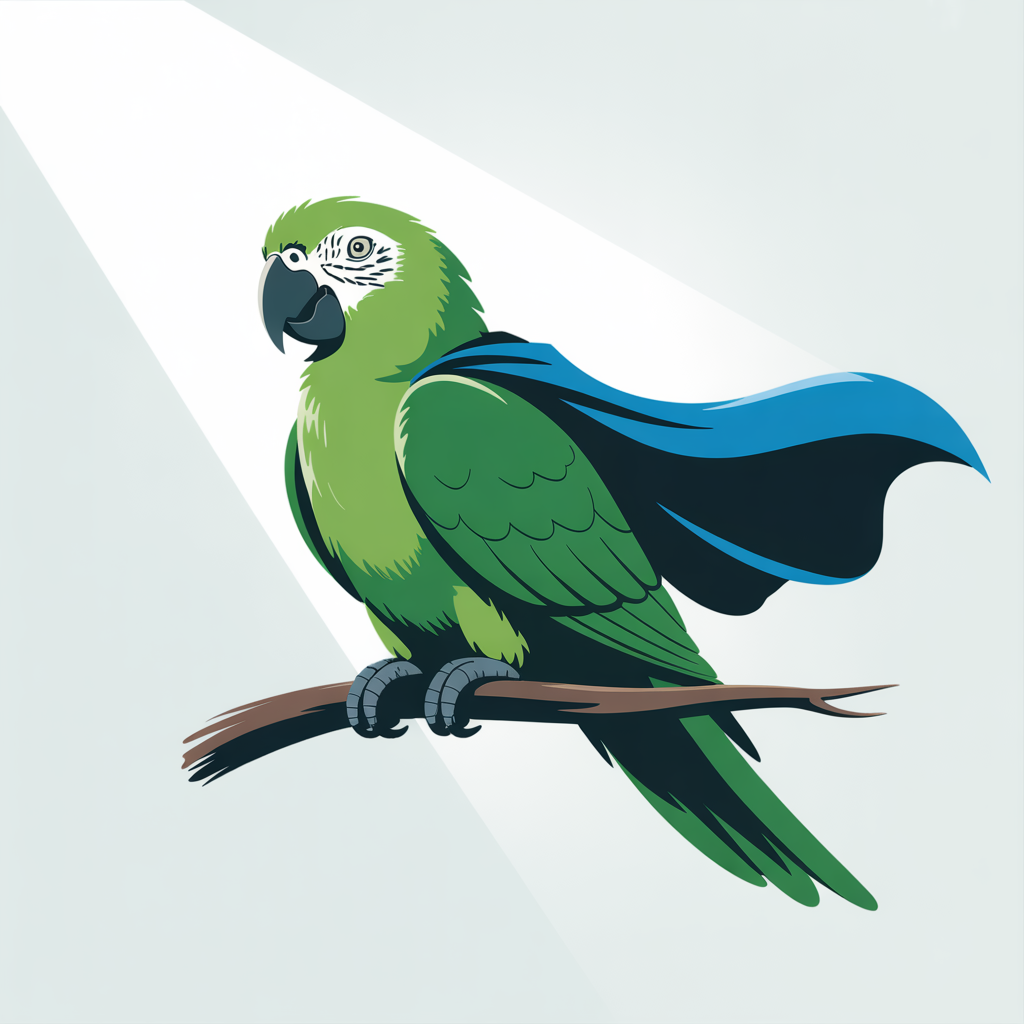
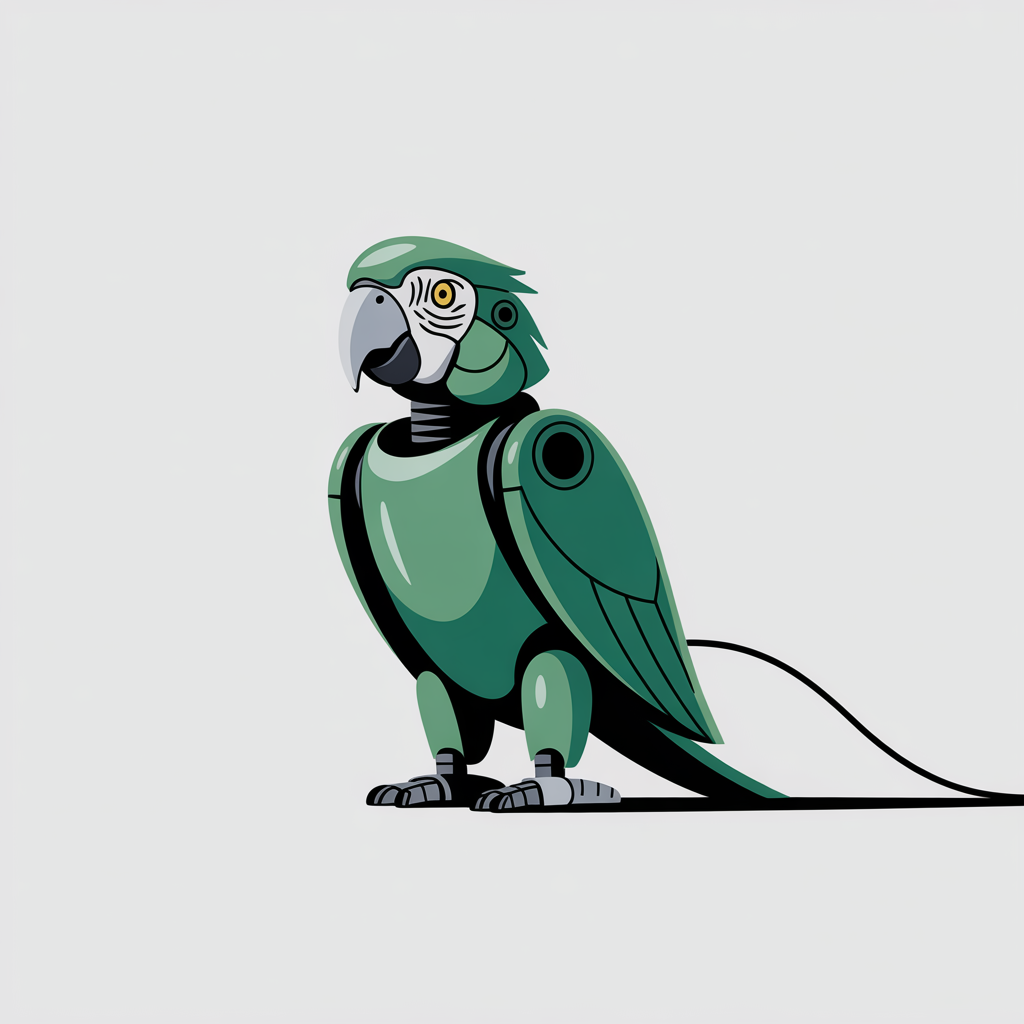
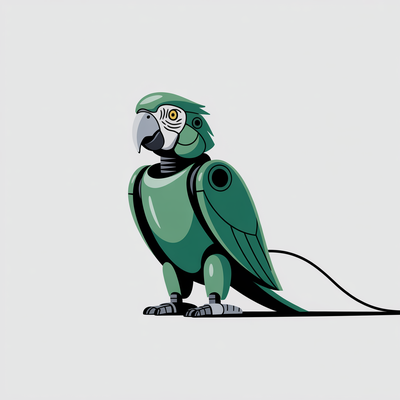
El super loro

Imaginemos por un momento que tenemos el mejor loro del mundo.
Un loro increíble, que es capaz de completar cualquier frase que le digamos.
Solo sabe decir de a una palabra, no sabe construir frases.
Tampoco es TAN increíble.
Pero siempre sabe elegir super bien con qué palabra continuar la frase que le damos.
Por ejemplo, si le decimos "en Italia se come mucha...", nuestro super loro nos puede completar la
frase diciendo "pasta!". O quizás "pizza!".
A veces responde una, a veces la otra, ambas tienen sentido.
Entre las mejores palabras que puedan completar esa frase con sentido, elige una al azar.
Para esa frase nunca nos va a decir "silla!" en vez, porque no tendría sentido.
Siempre elige una palabra que complete bien la frase que le dimos.
Pero nuestro super loro no sabe qué es Italia, qué es una pizza, o qué es una silla.
Después de todo, sigue siendo un simple loro.
Conversando
Como el loro solo sabe responder de a una palabra, pareciera que no podemos tener realmente una
conversación con él.
Pero es posible! Podemos usar un truco sencillo: ir acumulando palabras.
Por ejemplo, podemos decirle "¿Cómo se hace una pizza?".
Y el loro nos va a responder con la palabra "Primero".
Porque "primero" es una de las palabras que más sentido tiene que vengan después de lo que dijimos.
Y nosotros podemos entonces agregar esa nueva palabra a nuestra frase, y volver a darle al loro la
frase de entrada, que ahora es un poquito más completa: "¿Cómo se hace una pizza? Primero".
Y el loro nos va a responder "se".
Repetimos el proceso.
Le decimos "Cómo se hace una pizza? Primero se".
Y el loro nos va a responder "mezcla".
Imagino que ya se dieron cuenta de cómo sigue la historia.
Con este super loro podemos tener una "conversación".
Podemos hacer que genere textos enteros incluso!
El mecanismo es un poco molesto, todo se construye de a una palabra y nosotros tenemos que ir
recopilando esas palabras y volviendo a dárselas al loro.
Pero podemos tener una conversación! Puede construirnos una receta. O un poema. O explicarnos cómo
se calcula la derivada de una función. O contarnos la historia de Harry Potter.
Con su habilidad de elegir "la palabra con más sentido después de lo que le dijimos", el loro
tiene la capacidad de producir textos humanos de cualquier tipo.
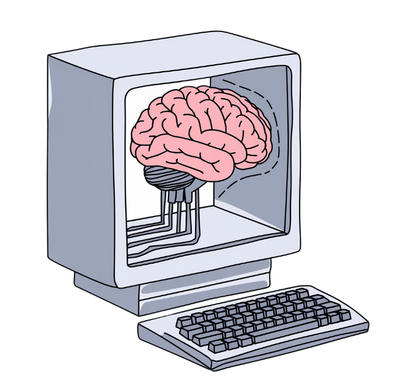
Loros mecánicos
Las IAs que usamos hoy en día funcionan básicamente de esa misma manera.
Son programas de computadora que toman un texto de entrada, y mediante una cantidad astronómica de
operaciones matemáticas, determinan cuáles son las palabras más probables que podrían venir luego
de ese texto.
Y de entre ellas, elige una al azar (las mejores palabras para ese texto tienen más chances de
ser elegidas).
Nosotros no nos damos cuenta, pero por detrás estos programas hacen este mismo proceso de "acumular
palabras" que hicimos con el loro.
Y de esa forma entonces, son capaces de producir respuestas coherentes, textos humanos completos.
Conversaciones. Canciones. Explicaciones.
Lo que tenga sentido luego de lo que dimos como entrada.
Y de igual manera que con el loro... tampoco "saben". Tampoco entienden.
Solo están eligiendo palabras probables.
No son más que un montón (muy muy grande) de operaciones matemáticas, que dado un texto de entrada
producen una lista de probabilidades como salida.
Quizás sorprenda que estemos hablando de operaciones matemáticas con texto (las operaciones que la
IA hace en base al texto de entrada para asignar probabilidades a las palabras de salida).
Pero en realidad no es tan raro, es algo que en el mundo de la Ciencia de Datos se hace seguido.
Hay muchas formas de expresar un texto como números, que luego una IA puede utilizar para operar
matemáticamente.
No vamos a profundizar en eso en este post, pero es un tema muy interesante!
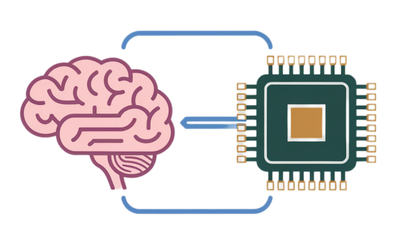
Entrenando loros mecánicos
A esta altura alguien se puede preguntar: ¿cómo hacemos para crear un programa que dado un texto
de entrada, determine qué palabras es más probable que vengan después? ¿Cómo hacemos para que
esa gran función matemática que recibe un texto y produce una lista de probabilidades, funcione
bien?
La respuesta es que lo hacemos mediante ejemplos.
Muy similar a como aprende un loro real.
Comenzamos por bajarnos tooooooodos los textos de internet.
Esto incluye desde publicaciones científicas hasta peleas sobre fútbol en Twitter.
Le sumamos también tooodos los textos de tooooodos los libros que existen.
No importa sin son libros de chistes o de física cuántica. Todos.
También diarios, revistas, enciclopedias, etc.
Cualquier fuente de textos humanos que podamos encontrar!
Y con esta biblioteca gigante de ejemplos de textos humanos, ahora comenzamos un proceso de
"entrenamiento" de nuestra IA:
Buscamos un fragmento de texto al azar de nuestra biblioteca.
Le sacamos la última palabra. Por ejemplo, si el texto era "En Italia se come mucha pizza", le
sacamos la palabra "pizza" y nos queda "En Italia se come mucha".
Le damos el resto del texto (sin la última palabra) como entrada a nuestra IA.
La IA nos da como respuesta las probabilidades de cada palabra que podría venir a continuación.
Por ejemplo, nos dice "casa" tiene un 0.001%, "pizza" tiene un 28%, "silla" tiene un 0.0001%, etc.
Al principio esto va a ser bastante al azar, va a estar eligiendo cualquier palabra.
Comparamos la respuesta de la IA con la palabra que le habíamos sacado al final del texto
original. La palabra que nosotros sabemos que era la "correcta". Esa palabra, ¿qué tanta
probabilidad tuvo en la respuesta de la IA? ¿La IA creía que era una buena elección o no?
Le damos feedback a la IA, para que ajuste sus operaciones y se acerque más al resultado
esperado. Por ejemplo: si la palabra esperada era "pizza" pero la IA dijo que "pizza" era muy
poco probable, le decimos que erró por mucho y que ajuste sus cálculos para que "pizza" sea más
probable dado ese texto de entrada.
Tenemos que repetir este proceso literalmente trillones de veces.
Con cada repetición, la IA va ajustando sus cálculos para que cada vez sea más probable que elija
palabras con sentido.
Con una biblioteca lo suficientemente grande, y una cantidad suficiente de repeticiones, nuestro
loro mecánico aprende a generar palabras que suenan como un humano hablando.
Y todo esto sin entender ni un gramo de lo que está diciendo!
Entran ejemplos, salen selecciones de palabras.
Se recibe feedback, se ajustan los cálculos para que se parezcan más a lo esperado.
Magia!
Esta manera de construir IAs tiene un montón de ventajas, pero también tiene sus límites.
Charlemos sobre algunos problemas que nos pueden interesar más como usuarios, y veamos qué
podemos hacer para que no nos muerdan.
Solo algunos, porque esto ya se está haciendo largo :)

Sesgos y problemas de los textos de entrenamiento
Es muy común que atribuyamos a la IA una especie de "objetividad" que en realidad no tiene.
La IA está produciendo palabras de forma que se parezcan a los textos que utilizamos para entrenarla.
¿Qué origen tienen estos textos?
Son textos humanos!
Los humanos tenemos sesgos, prejuicios, opiniones, creencias, etc.
Los humanos nos equivocamos todo el tiempo, y dejamos esas equivocaciones escritas de formas
bien públicas: tweets, libros, artículos de noticias, etc.
Si la IA se entrena con esos textos humanos llenos de equivocaciones, puede aprender esos mismos
sesgos y errores.
Va a reproducirlos.
Y cuanto más comunes sean estos sesgos en los textos de entrenamiento, más probable es que la IA los
reproduzca.
Como dice una frase conocida en el ambiente: entra basura, sale basura.
Si entrenamos con malos textos, la IA va a ser igual de mala.
Por ejemplo, si internet y los libros están llenos de sesgos y discriminación por género, la IA
tranquilamente puede reproducir estos sesgos en sus respuestas.
Y de hecho lo vemos.
Hay mucho trabajo de quienes construyen y entrenan estas IAs para intentar resolver este problema.
Mucho esfuerzo en limpiar los textos de entrenamiento, y en ajustar la IA para que no reproduzca
errores y problemas que conocemos.
Pero es un trabajo difícil, y todavía falta mucho para considerarlo un problema resuelto.
Así que tenemos un primer aprendizaje importante: entendamos que solo porque lo dice una IA, no
quiere decir que es correcto o lo mejor, tranquilamente puede estar imitando un sesgo o error humano.
Todavía hace falta nuestra mirada crítica.
Alucinaciones
Como dijimos, es importante entender que la IA no entiende.
No "sabe" lo que es una pizza, ni una silla, ni la física cuántica.
Solo sabe elegir palabras que tienen sentido en el contexto de lo que le dimos como entrada.
Esto implica que puede generar textos que suenan muy bien, pero que no son ciertos!
Y no solo eso, sino que la confiabilidad de la respuesta va a depender muchísimo de los textos que
usamos para entrenar la IA originalmente.
Por ejemplo, imaginemos que le pregunto sobre el origen de una canción de un cantante super poco conocido,
de la que casi no hay información en internet (ejemplo real que me pasó: Milonga de Gauna, de
Jaime Ross).
Qué va a responder la IA?
Va a inventar algo! Va a generar una cadena de palabras que suenan bien, con "sentido", pero que
son absolutamente falsas.
El término técnico para estas invenciones que las IAs pueden devolvernos, es "alucinaciones".
Ese es el caso más extremo, el peor: casi no existía información en la biblioteca de entrenamiento.
La mayoría de las veces vamos a estar en una situación más intermedia: quizás había muchísimos
textos en internet y libros sobre el tema, o quizás había bastantes, o quizás pocos.
Y eso va a influenciar mucho qué tan confiable es la respuesta generada.
Qué tanto de la respuesta obtenida es realidad, y qué tanto es "alucinado".
Y lo complicado es que no hay nada que nos diga cuánto podemos confiar.
Cuando preguntamos, la IA no nos aclara cuánta info de entrenamiento tuvo sobre el tema.
Está en nosotros saberlo y evaluar si la respuesta tiene sentido o no.
Segundo aprendizaje entonces: el nivel de confianza que le demos a la respuesta de la IA tiene que
tener en cuenta cuánta info pública hay sobre el tema. Si es un tema poco conocido, o con mucha
info incorrecta online, es más probable que la IA nos de una respuesta falsa.
La calidad de nuestro texto de entrada
Algo nada obvio pero también super importante, es que la calidad de la respuesta depende también
muchísimo de la calidad del texto de entrada que le demos.
Veámoslo con un ejemplo.
Imaginemos que tengo una condición médica que no entiendo, y en lugar de ir al médico decido preguntarle
a la IA (no aconsejable todavía).
Tengo dos formas de preguntarle: puedo escribir un texto largo y detallado, muy bien redactado,
similar a lo que uno encontraría en un libro de medicina explicando los síntomas (ej: decir cosas
como "dolor abdominal agudo en la parte inferior derecha, especialmente al tacto").
O en vez, puedo escribirle de la misma forma que lo haría en un tweet relajado.
Decirle algo como "cheeee me re duele la panza!!!".
La IA va a responder muy, muy diferente en cada caso.
No solo en estilo, sino en calidad/confiabilidad de su respuesta!
Recordemos que va a intentar elegir las palabras más probables en base al texto de entrada, las que
más se parezcan a los ejemplos de textos de entrenamiento.
Y qué es más probable que venga luego de un texto que se parece a una pregunta en Twitter?
Lo más probable es un texto construído como una respuesta de Twitter!
No un texto construído como un médico explicando una enfermedad en un libro de medicina.
Imagino que ya se dieron cuenta de lo que eso implica.
Un texto de entrada mal armado, una pregunta mal construída, pueden llevar a una mala respuesta
incluso cuando la IA tenía capacidad de generar una respuesta más confiable.
Tercer aprendizaje: la forma en la que escribimos define fuertemente la calidad y
confiabilidad de la respuesta. Hay que poner esfuerzo en dar textos de entrada que fomenten mejores
respuestas.
La IA me hace la tarea
Y por último, esto no tiene tanto que ver con limitaciones de estas IAs sino más bien con nuestras
limitaciones humanas.
Como estas IAs son tan buenas para producir contenido, es muy fácil caer en la tentación de usarlas
para todas las cosas que tenemos que generar nosotros mismos.
Pero eso no siempre es una ventaja: sobre todo en educación, hay muchas situaciones en donde se nos
pide hacer algo no por el resultado final, sino por el proceso de aprendizaje que implica hacerlo
nosotros mismos.
Por ejemplo, quizás estamos estudiando psicología y nos piden leer y resumir una entrevista sobre
abuso emocional.
Es una tarea que tranquilamente una IA puede hacer super bien. Le damos el texto, nos produce el
resumen. Lo revisamos un poco, y listo! Tarea hecha. Entrega aprobada.
Pero el problema es que el o la profe no nos pidió ese resumen porque el resumen en si era valioso
o necesario.
No nos pidió un resumen porque no quiere leer el texto y necesita una versión más corta.
Probablemente nos pidió leerlo y resumirlo porque de esa forma, leyendo y re-redactando las ideas
principales, nosotros mismos íbamos a aprender sobre abuso emocional.
Al darle la tarea a la IA en vez, nos estamos perdiendo la oportunidad de aprender.
La tarea estaba diseñada para que quien la haga, aprenda algo.
Y nosotros decidimos no aprender y dárselo a la IA en vez.
Aprobamos la entrega. No aprendimos.
Cuando vayamos a ejercer no vamos a tener el conocimiento que necesitábamos para lidiar con una
situación real.
La IA puede ser extremadamente útil para automatizarnos tareas repetitivas o que no nos suman valor.
Eso es innegable.
No quiero decir que no la usemos para crear contenido o resolver problemas.
Pero mi último aprendizaje para este post es: ojo con darle a la IA las cosas que estaban
pensadas para que nosotros crezcamos haciéndolas. No elijamos no aprender, porque perdemos nosotros.
También hay cosas buenas
Claramente no todo es malo.
La IA puede ser una herramienta increíble para ayudarnos a aprender y enseñar.
Puede facilitarnos muchísimo trabajo.
Puede ayudarnos a generar contenido, a resumir, a entender cosas complejas.
En muchos casos puede hasta jugar a ser un segundo profe más personalizado y con infinita paciencia
y tiempo disponible.
Todas ventajas que no hace falta que profundice demasiado porque seguro ya las conocen.
Pero lo importante es que entendamos que se trata de una herramienta con todavía muchos "bordes
filosos", que pueden jugarnos en contra si no los conocemos o no los tenemos en cuenta.
La calidad de lo que generemos, y lo mucho que nos pueden ayudar en el aprendizaje, depende en
gran medida de entender esas cuestiones y saber cómo jugar con ellas.
Así que a seguir aprendiendo, ahora con IAs al lado.
Es una época súper interesante para ser profes o estudiantes!